Winter Wonderland Nail Colors and Trends to Try This January.
January Nail Colors and Trends
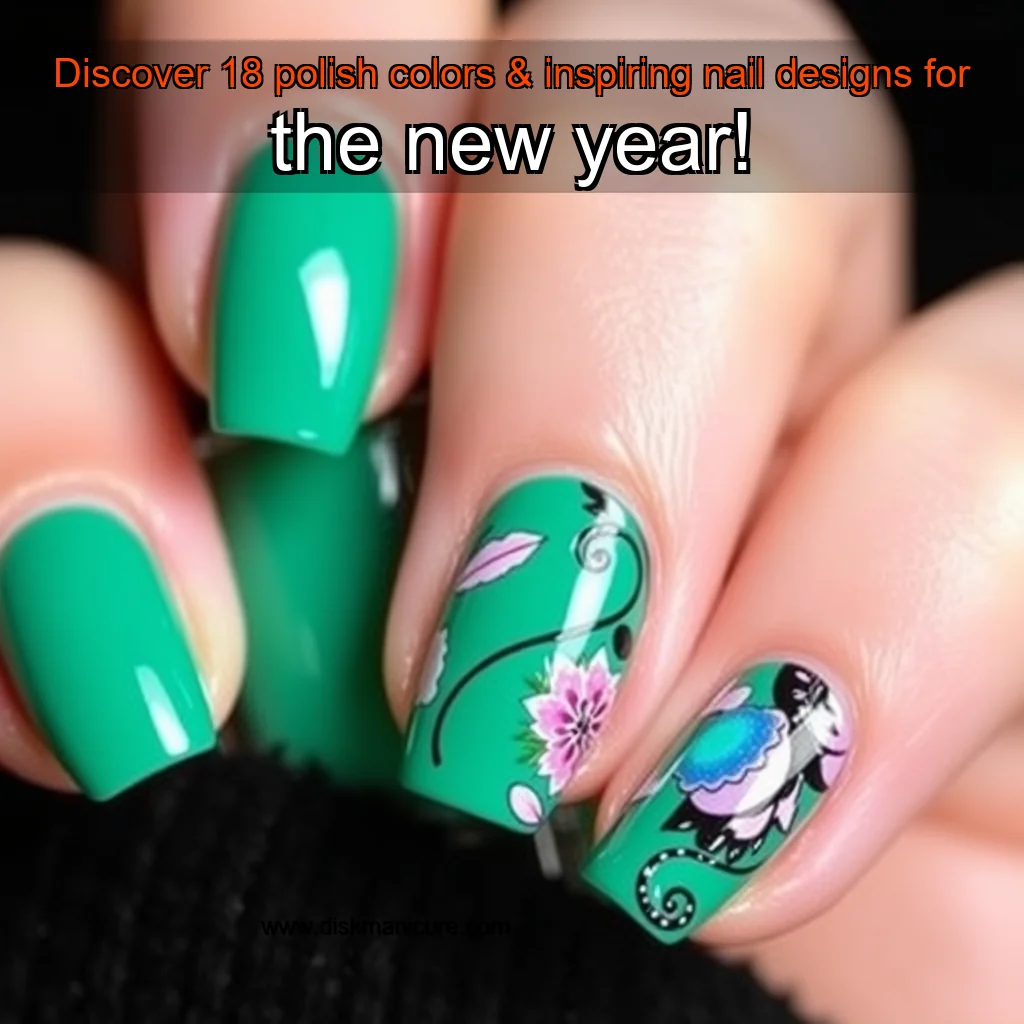
January is a time for new beginnings, and what better way to kick-start the year than with a fresh coat of nail polish? From icy metallics to glittery snowflakes, January nail colors are all about embracing the winter season. Here are some of the hottest January nail trends and colors to try:
Icy Metallics
Icy metallics are a popular choice for January nail colors. These finishes give your nails a sleek, high-shine appearance that’s perfect for the winter season. You can find icy metallics in a range of colors, from frosty blues and purples to icy pinks and whites. For example, try pairing a chrome finish with a pale blue polish for a chic and sophisticated look. Alternatively, you could go for a frosted metallic finish in a soft pink color for a romantic and feminine look.
Glittery Snowflakes
Glittery snowflakes are a fun and festive way to celebrate the winter season. You can find glittery snowflake designs in a range of colors, from icy blues and whites to sparkly silvers and golds.
Get Ready to Sparkle with Winter Wonderland Nails!
The 3D nail art is a great way to express your creativity and add some fun to your nail game. It’s also a great way to get into the holiday spirit, especially during the winter season.
Winter Wonderland Nails: A Seasonal Delight
As the winter season approaches, many of us start thinking about how to get into the holiday spirit. One way to do this is by creating a festive and fun nail design that captures the essence of the season. Winter wonderland nails are a great way to express your creativity and add some magic to your nail game.
The Magic of 3D Nail Art
3D nail art is a technique that involves creating a three-dimensional effect on the nail using various materials and techniques. In the case of winter wonderland nails, the 3D pattern creates a mini snowy canvas, and your fingers will resemble teeny-tiny icicles. This technique allows you to add depth and dimension to your nail design, making it a great way to express your creativity. Some popular materials used in 3D nail art include: + Glitter + Rhinestones + Iridescent powders + Small beads + Even tiny figurines or charms
Winter Wonderland Nail Ideas
When it comes to winter wonderland nails, the possibilities are endless. Here are a few ideas to get you started:
Add some sparkle with glitter glue and a few strategically placed rhinestones. For a more subtle look, try using nail stickers or nail guides to create a plaid pattern.
Winter Nail Art Ideas to Warm Your Heart
As the temperatures drop and the snowflakes start to fall, our nails can use a little extra love.
Asymmetrical nail art is a timeless classic, but it’s the way Winter Aura Nails executes it that makes it truly unforgettable. Here’s a closer look at the design:
Asymmetrical Nail Art: A Timeless Classic
Asymmetrical nail art has been a staple in the nail industry for years, and its enduring popularity can be attributed to its versatility and creativity. From subtle, understated designs to bold, statement-making looks, asymmetrical nail art can be tailored to suit any style or occasion. Whether you’re looking to add a touch of elegance to a formal event or a dash of whimsy to a casual gathering, asymmetrical nail art offers endless possibilities.
The Art of Inverted Polka Dot Nails
In the world of nail art, there are countless designs and patterns to choose from. However, one style that has gained significant attention in recent years is the inverted polka dot nail. This style is characterized by small dots that are placed in a way that they appear to be upside down, creating a visually striking effect.
The Origins of Inverted Polka Dot Nails
The origins of inverted polka dot nails are unclear, but it is believed to have originated in the 1990s. During this time, nail art was still in its infancy, and designers were experimenting with various techniques and patterns. The inverted polka dot design was likely inspired by the traditional polka dot pattern, but with a twist that made it unique and eye-catching.
The Techniques Used
To achieve the perfect inverted polka dot nail, several techniques can be used.
You can also add a clear coat to seal the color and make it last longer.
The Benefits of Nail Polish
Nail polish is a popular cosmetic product that offers numerous benefits for the hands. Here are some of the advantages of using nail polish:
Create a Winter Wonderland on Your Nails with a Simple Snowflake Design.
Here’s how to create a stunning snowflake design at home.
Getting Started
To begin, you’ll need a few basic supplies. Don’t worry, we won’t make you break the bank – you can get started with just a few simple tools. Nail polish remover
Preparing Your Nails
Before you start creating your snowflake design, make sure your nails are clean and dry. Remove any old nail polish and push back your cuticles. This will give you a smooth surface to work with. Use a nail polish remover to gently remove any old polish from your nails. Use a nail buffer to smooth out any ridges or imperfections. Push back your cuticles using a cuticle pusher or an orange stick.
Creating the Snowflake Design
Now it’s time to start creating your snowflake design. You can use a variety of techniques to achieve the desired look. Use a nail art brush to paint a base coat of white polish on each nail. Use a nail dotting tool to create the snowflake pattern. You can use a single dot or multiple dots to create the desired design. Use a nail brush to paint on additional details, such as veins or texture.
Add some sparkle with a glitter polish in a metallic finish, and finish off with a glossy topcoat. This look is perfect for a night out or a special occasion.
A Glittering New Year’s Manicure
The Perfect Party Look
As the clock strikes midnight on New Year’s Eve, you’ll want to make a statement with your nails. A glittering manicure is the perfect way to add some sparkle to your look. With a few simple steps, you can create a stunning and eye-catching design that’s sure to turn heads.
DIY or Salon-Ready? You can achieve this look at home with a DIY manicure or head to a salon for a professional touch. If you’re feeling crafty, you can use a nail polish remover to clean up your nails, apply a base coat, and then coat them with an opaque white polish. Next, add a layer of gold polish to give your nails a luxurious feel. Finish off with a glossy topcoat to seal in the look. ### Adding the Finishing Touches
To take your manicure to the next level, add some sparkle with a glitter polish in a metallic finish. You can use a single coat or build up multiple coats for a more dramatic effect.
Why Trust Cosmopolitan?
news is a contributor at DiskManicure. We are committed to providing well-researched, accurate, and valuable content to our readers.
You May Also Like

Try Our Professional Nail Care Tools
Get accurate calculations for perfect manicures every time.